Esmeralda Cardenas' Tamales de Pollo en Salsa Verde

Delicious tamal verde

These chicken in salsa verde tamales are a holiday classic.

Esmeralda en la Cocina’s recipe features tender shredded chicken in a zesty salsa verde made with tomatillos, serrano chiles, and spices, all encased in a delicate dough made from masa harina. Tamales bring people together, whether to cook or enjoy (or both). This guisado will take your tamales to the next level!

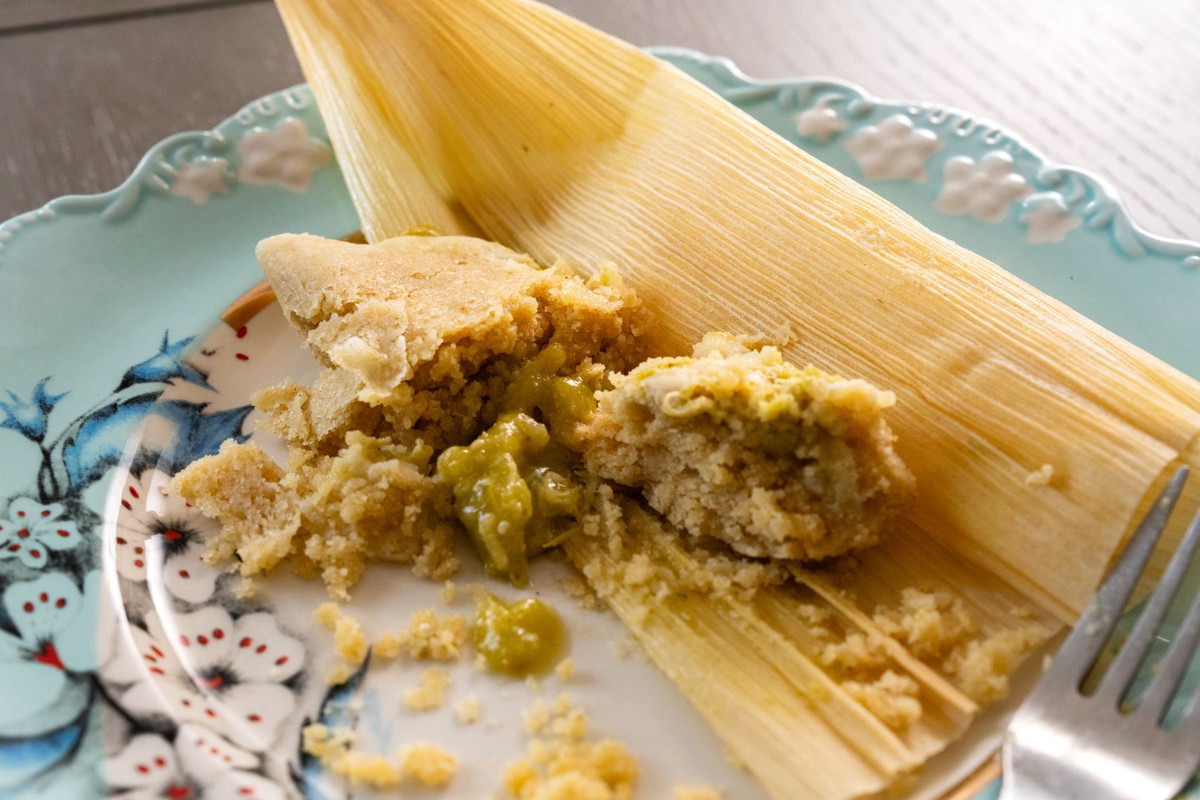
Tamales de Pollo en Salsa Verde

Tamales de Pollo en Salsa Verde

Esmeralda Cardenas

Ingredients

  • 25-30 corn husks

blank

  • 4 lbs bone-in chicken breast

  • ½ tbsp salt

  • Water

blank

  • 6 tomatillos, peeled and rinsed

  • 2 garlic cloves, peeled

  • ½ onion

  • 4 serrano chiles

  • Fresh cilantro

  • ¼ tsp cumin

  • 2 cloves

  • 1 allspice berry

  • ½ cup chicken broth (reserved from cooking the chicken)

  • 1 tsp chicken bouillon (optional)

  • 1 tbsp lard or neutral oil

blank

  • 1.5 cups lard

  • 2 tsp baking powder

  • 4 cups Heirloom Corn Masa Harina

  • 1 tbsp salt

  • 3-4 cups warm broth or water

Directions

    blank

    1. In a pot, place the chicken breasts and salt. Cover with water and bring to a boil. Reduce heat to low, cover, and simmer for 20-25 minutes or until the chicken is cooked through and tender. Remove the chicken from the pot and let it cool slightly before shredding it with two forks. Set aside.

    blank

    1. In the same broth, boil the tomatillos, onion, garlic, and serrano chiles until softened.

    2. Blend the cooked tomatillos, chiles, onion, garlic, fresh cilantro, cumin, cloves, and allspice berry with the reserved broth. Add chicken bouillon powder if desired for extra flavor.

    3. In a non-stick pan or skillet, heat the lard or oil over medium heat. Add the sauce and bring to a simmer and cook for another 5 minutes, allowing the flavors to meld together.

    4. Add the shredded chicken to the sauce and stir until well combined. Cook for an additional 5 minutes, allowing the chicken to absorb the flavors of the sauce.

    blank

    1. Soak corn husks in hot water for at least 10 minutes while you make the masa.

    2. Using a stand mixer with the whisk attachment or a hand mixer, whip lard on high until light and fluffy, about 5 minutes or until it’s the texture of cake frosting.

    3. Add baking powder and gradually add masa harina, incorporating well.

    4. Slowly add 3 cups of warm broth or water, mixing to form a cohesive dough. Reserve the extra cup to adjust for moisture as needed. Yours may be wetter or thicker, depending on your preference. Your mixed masa should feel well hydrated and not gritty, with a creamy, airy texture that’s easy to spread.

    5. Taste the masa and add salt, whipping to incorporate. If using salted broth, adjust the amount to taste.

    blank

    1. Gently wring out your corn husks and pat them dry with a dishtowel.

    2. Arrange husk so the wide end is closest to you and the smooth side is facing up. Using a spoon, spatula, or bench scraper, spread a thin, even layer of masa from side to side, leaving the narrow end uncovered. You’re looking to cover an area about 3 by 5 inches. Add preferred filling(s) to the center of the masa. Note: We use 2 ounces (4 tablespoons) of masa per tamal with 1 ounce of filling (1-2 tablespoons), though you may want to increase or decrease those amounts based on your preferences.

    3. Fold one side of the corn husk in, and then the other. Fold the bottom towards the top. You may choose to tie a strip of corn husk around the fold to ensure it stays intact.

    4. Fill the bottom of a tamal steamer (or pot with steamer basket) with water.

    5. Place your tamales upright in the insert/basket and cover. Steam for 75-90 minutes at medium-high heat. Check for doneness by seeing if the husk pulls away from the masa easily. If so, they’re ready! Typically, the more tamales in the pot, the longer the cooking time.

    6. Remove tamales from heat and let them rest, covered, for at least 15 minutes. Tamales will firm as they cool.

    Leave a comment

    Please note, comments need to be approved before they are published.